Getting Started
Convert your first batch of audio files to MP3 in a few quick steps.
MP3 Encoder makes it simple to convert audio files into MP3s. This guide walks through the basic workflow so you can start encoding right away. For a deeper dive into each step, see Creating MP3 Files.
How to Encode Your First Batch
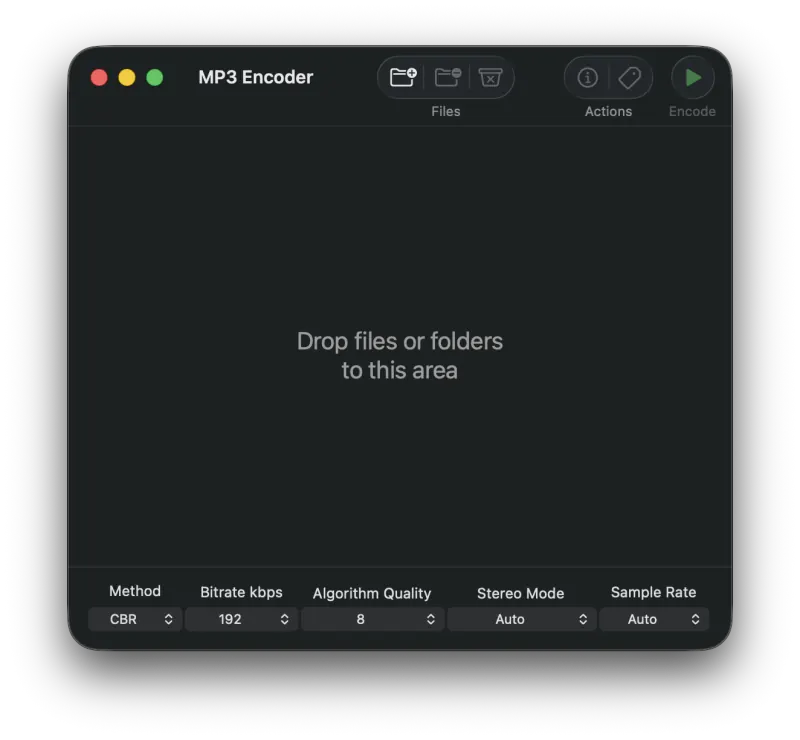
- Drag your source audio files onto the MP3 Encoder window to add them to the queue.
- (Optional) Press the Metadata button in the toolbar to open the Metadata Editor and tweak track information.
- Configure your output settings (Bitrate Mode, Bitrate, Quality, Stereo Mode, and Sample Rate) in the pulldown menus at the bottom of the window.
- By default, encoded files are written to your Music folder. To change the destination, open Settings and pick a folder under Output directory.
- Click Encode to begin the conversion.
Tip: MP3 Encoder can also work as a basic tag editor. Click and hold the Encode button to reveal the Write Metadata option, which writes metadata changes back to MP3 source files without re-encoding.
What's Next?
Now that you've encoded your first batch, explore more of what MP3 Encoder can do: build custom output folder and file naming schemes, tune Settings for metadata and album artwork, or use MP3 Encoder as a tag editor on existing MP3s.
Still need help? Email [email protected] or send a message.