Creating MP3 Files Overview
The core MP3 Encoder workflow in four steps, turning any supported audio file into an MP3.
MP3 Encoder makes it simple to convert your audio files into MP3s. Just follow these easy steps:
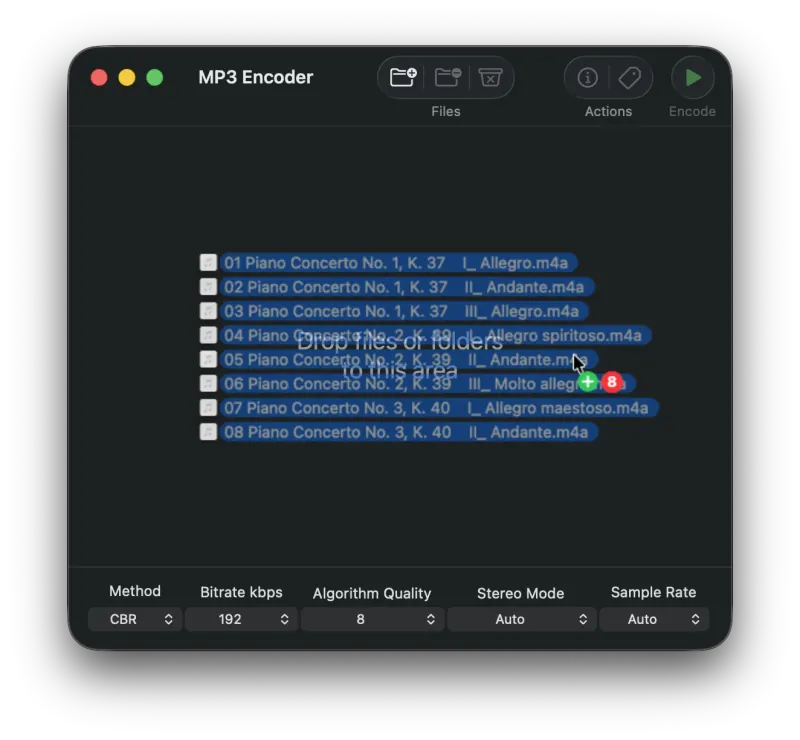
1. Add Files to the Queue
Drag your source audio files onto MP3 Encoder to add them to the queue. Files can also be added using a number of different methods.
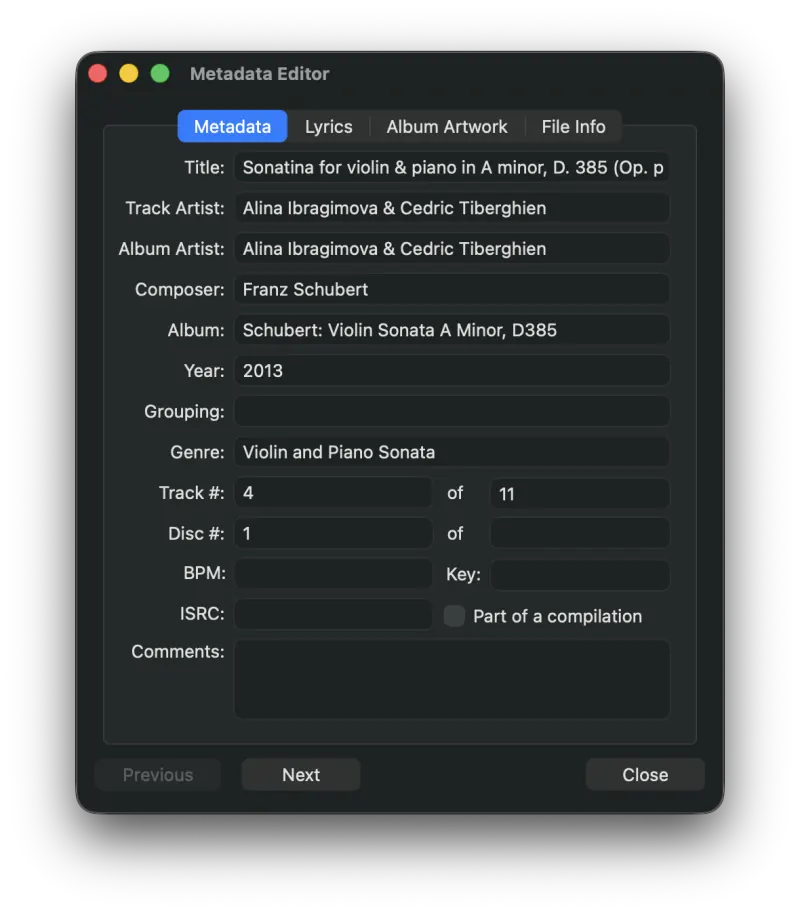
2. Edit the Metadata (optional)
Press the Metadata button to bring up the Metadata Editor and start entering or editing information about your audio files.
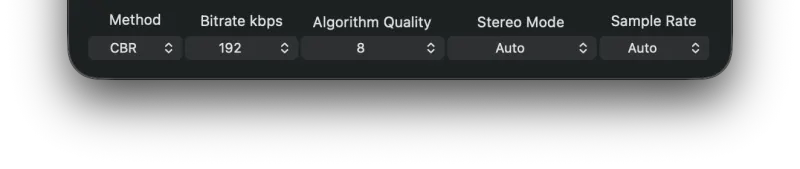
3. Configure Your Output Settings
MP3 Encoder offers a wide range of settings for your MP3 files. For a detailed description of every option, see the section on the main interface.
4. Press Encode
Press the Encode button to begin the conversion process. By default, output files are written to your Music folder. You can also set a custom output directory and file name in Settings.
Still need help? Email [email protected] or send a message.