Adding and Removing Files
All the ways to get audio into MP3 Encoder, and to clear the queue when you're done.
MP3 Encoder offers several ways to add your audio files to the queue. When you add a folder, MP3 Encoder searches it (and every sub-folder) and adds every supported file it finds. For the complete list of supported formats, see Supported File Types.
Four Ways to Add Files
1. Via the File Menu
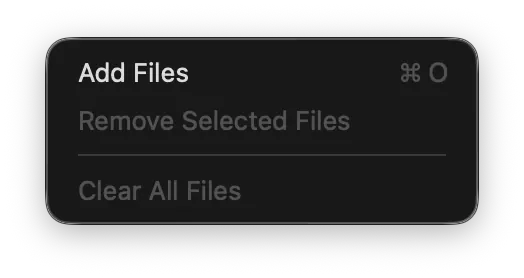
In the File menu, choose Add Files (⌘O). This brings up an Open File dialog where you can select files or folders to add.
2. The Add Files Toolbar Button
Pressing the Add Files toolbar button has the same effect as choosing Add Files from the File menu.
3. Drag and Drop
Files and folders can be dragged directly onto MP3 Encoder's main window or onto its Dock icon.
4. Drag Directly From Music
Files can be dragged straight out of Apple's Music app and onto MP3 Encoder's interface or Dock icon.
Removing Files
The simplest way to remove every file from the queue is to press the Clear Files button. To remove only certain files, select the ones you want to remove and press the Remove Files button.
You can select multiple files by holding ⌘ (Command) while clicking. You can also select a range of files by holding ⇧ (Shift) and clicking on the first and last file in the range.
Still need help? Email [email protected] or send a message.